“Aaaaand I Was Right” Button - Made for the Podcast Dynamic Banter
Using an FDM printer, off-the-shelf audio circuitry, and a vapor polishing technique I made a mock Staples “That Was Easy” button for the hosts of one of my favorite Podcasts, to honor one of the comedy bits that they often do
The Button is battery powered, and plays a rotating selection of audio clips when pressed, for all the situations where you say something obviously correct, and then feel the need to double check so you can announce “I was right!”

I have been listening to the podcast Dynamic Banter for a long time, and the comedy of hosts Mike Falzone and Steve Zaragoza has kept me laughing driving long commutes, doing yard work, and pulling late nights studying. I wanted to make something for their podcast for a long time, and when I had this idea I knew I had to execute.
The bit in question is a scenario that might be familiar when someone says something completely obvious, then looks it up only to arrive at the conclusion that they were “right”. For example, “I think Neapolitan ice cream is vanilla, chocolate, and….. Strawberry? Yeah Strawberry. Hang on, let me look it up. Aaaand yep, I was right!”
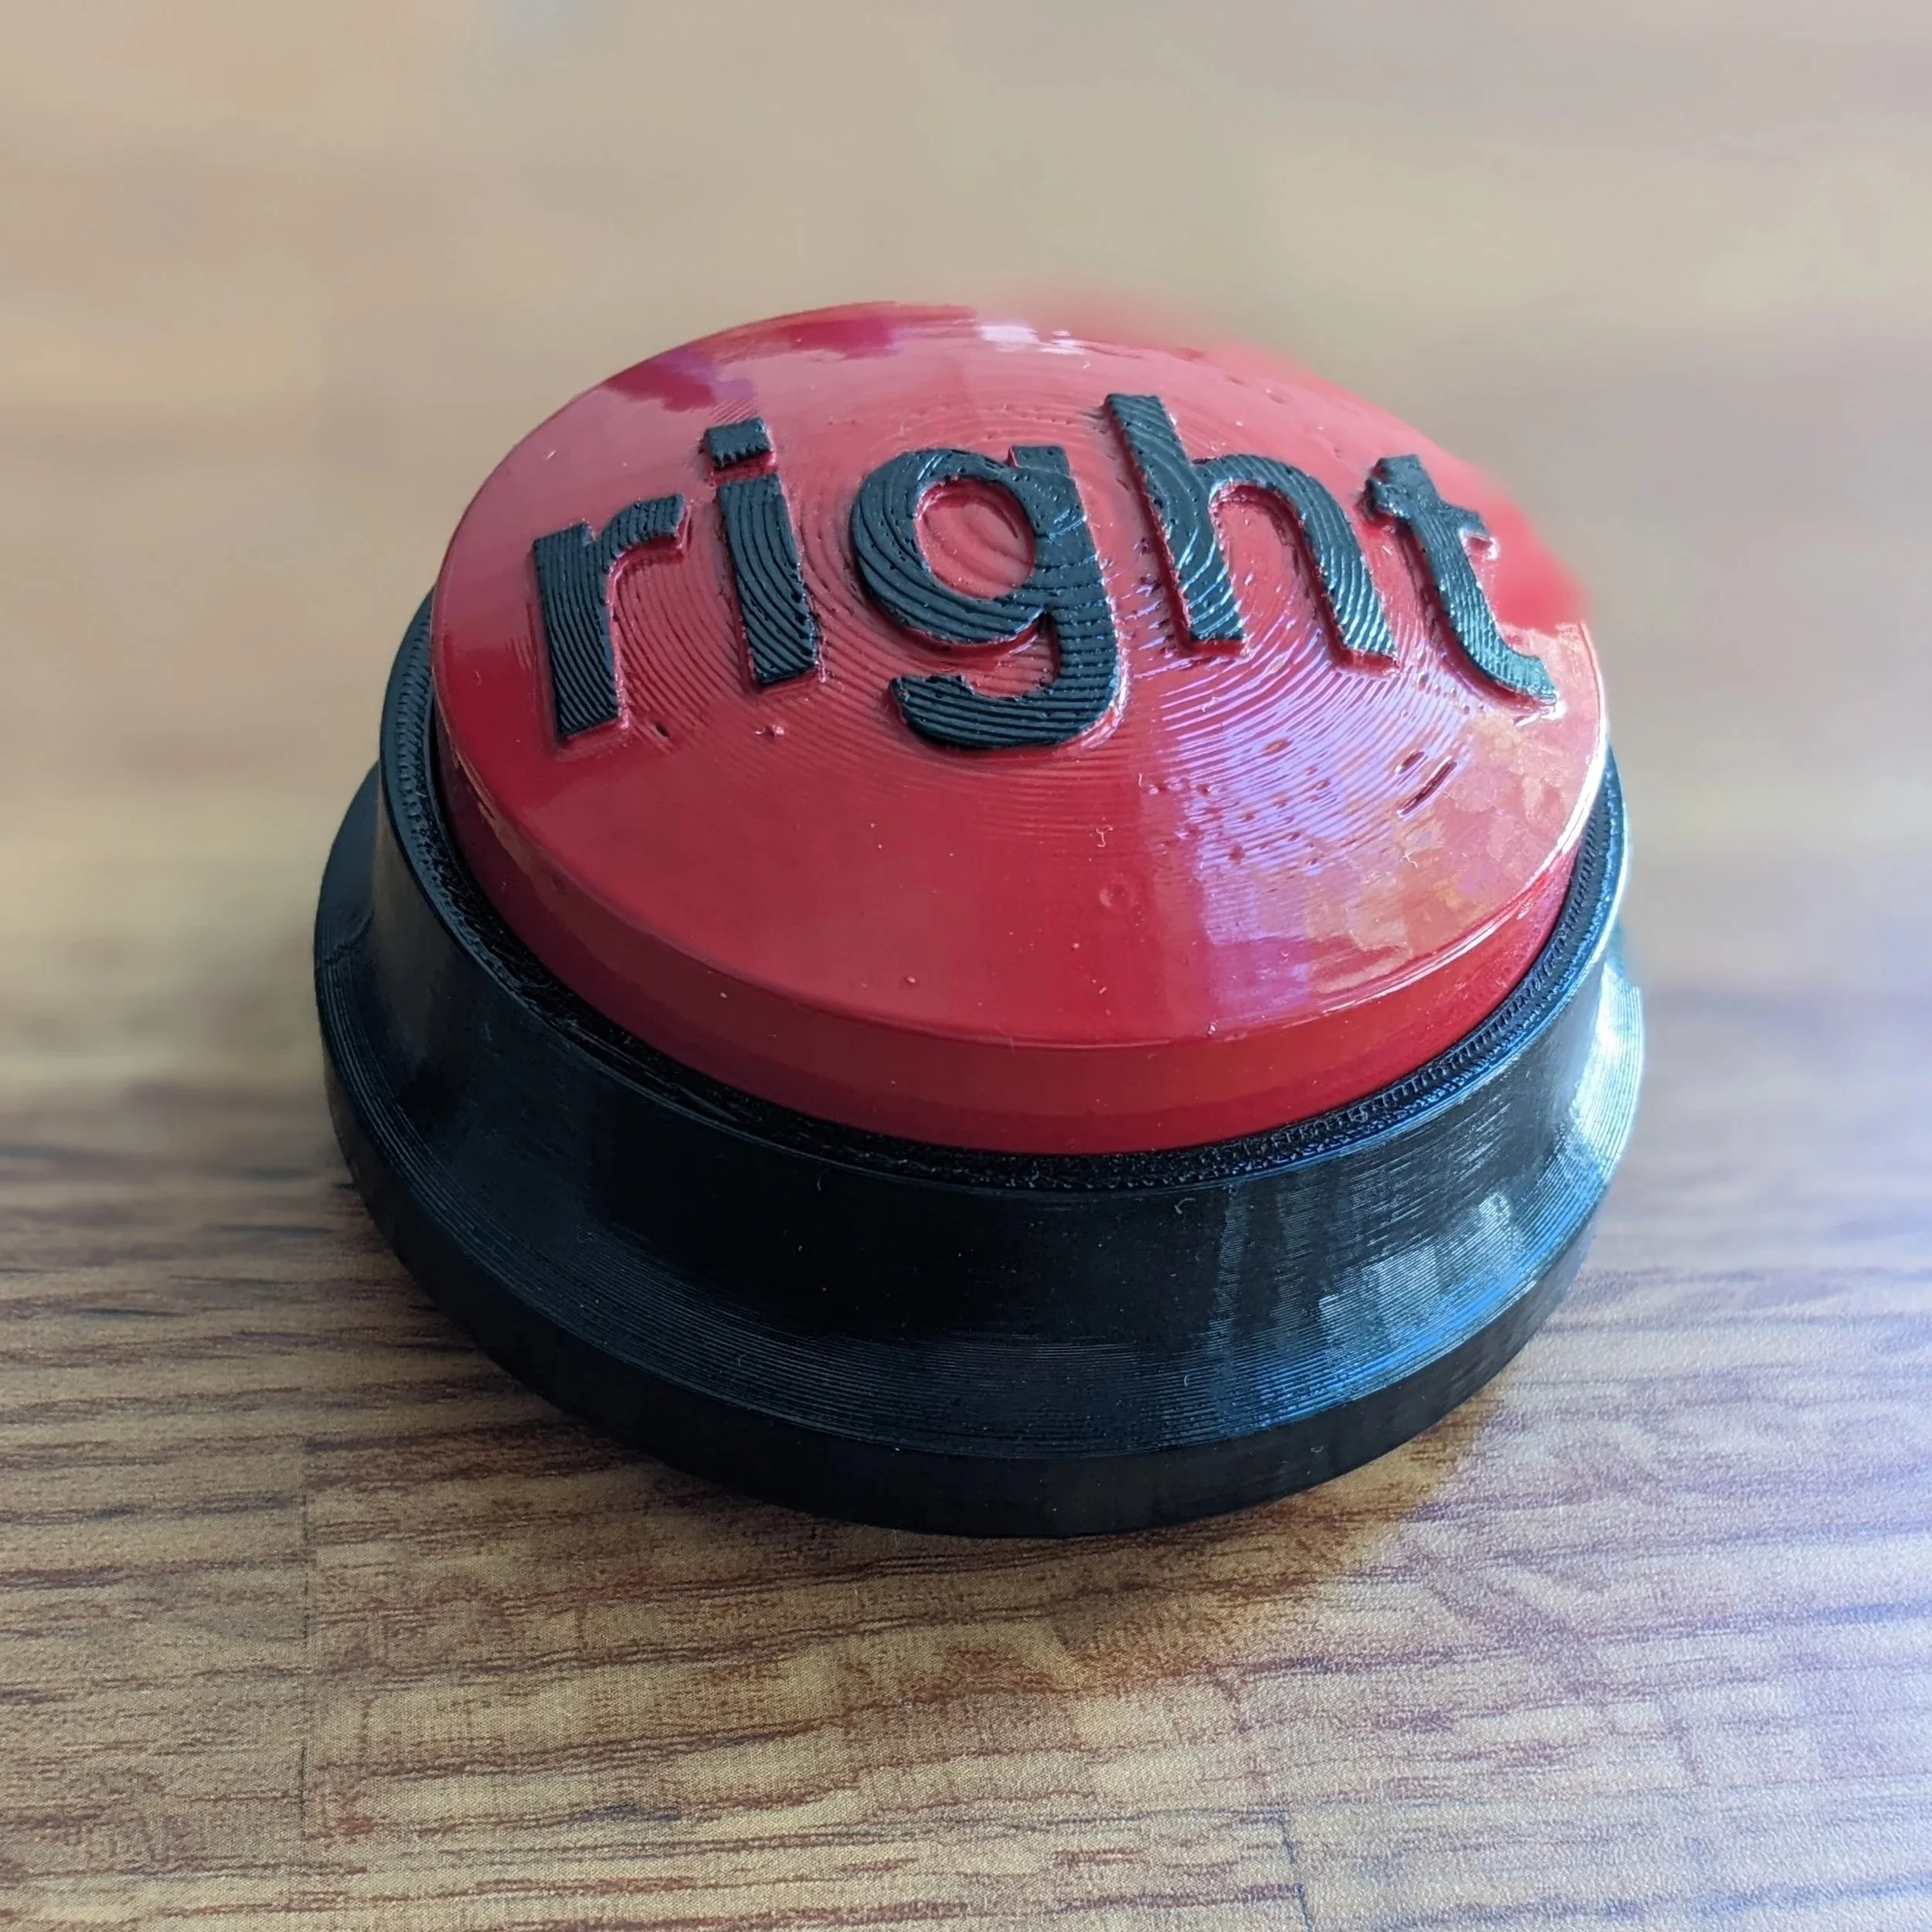
It’s a stupid and silly bit, and deserves a silly idea to bring it into reality. Enter the Staples “That Was Easy” Button! For those that don’t remember:
From Google: “The Staples "That Was Easy" button is an iconic marketing tool launched in 2005 to promote the retailer's simple shopping experience, with more than 1 million sold in the first year. The 3.5-inch red desk accessory, which says "That was easy" when pressed, became a pop culture item used to signify the completion of tasks.”
You see where I’m going with this. Design a mock button that plays take clips from the podcast of the hosts saying “I was right!”. The first step was to buy an actual Staples button and do a teardown to see how they constructed it, which as expected was quite a simple construction, and would be easy to replicate for 3D printing. The electronics in the Staples button was a custom PCB that I couldn’t interact with, so I had to make my own which was easy enough the do. Parts included an off-the-shelf microcontroller with internal memory to store the sound clips, circuitry to drive the speaker, a port for a rechargeable battery, and a button to cycle through clips. Once I had the electronics working I designed the subframe to hold the electronics as well as the button in place, then the outer housing complete with locating features to maintain a clean button travel. The button top itself is therefore kept rotationally constrained by the housing, and held against the top of the frame by a spring chosen to give it a satisfying button press. Because the parts were 3D printed I wanted to try vapor polishing to clean up the print lines and make the final product look like a real manufactured part. The process went very well and you can see the results below, all that was left was a quick paint job and it was ready to deliver!
I delivered the button to one of the hosts at a local comedy show they were at, and it was unveiled on the podcast shortly after. It was a really cool experience to deliver it and I still hear them use it to this day!
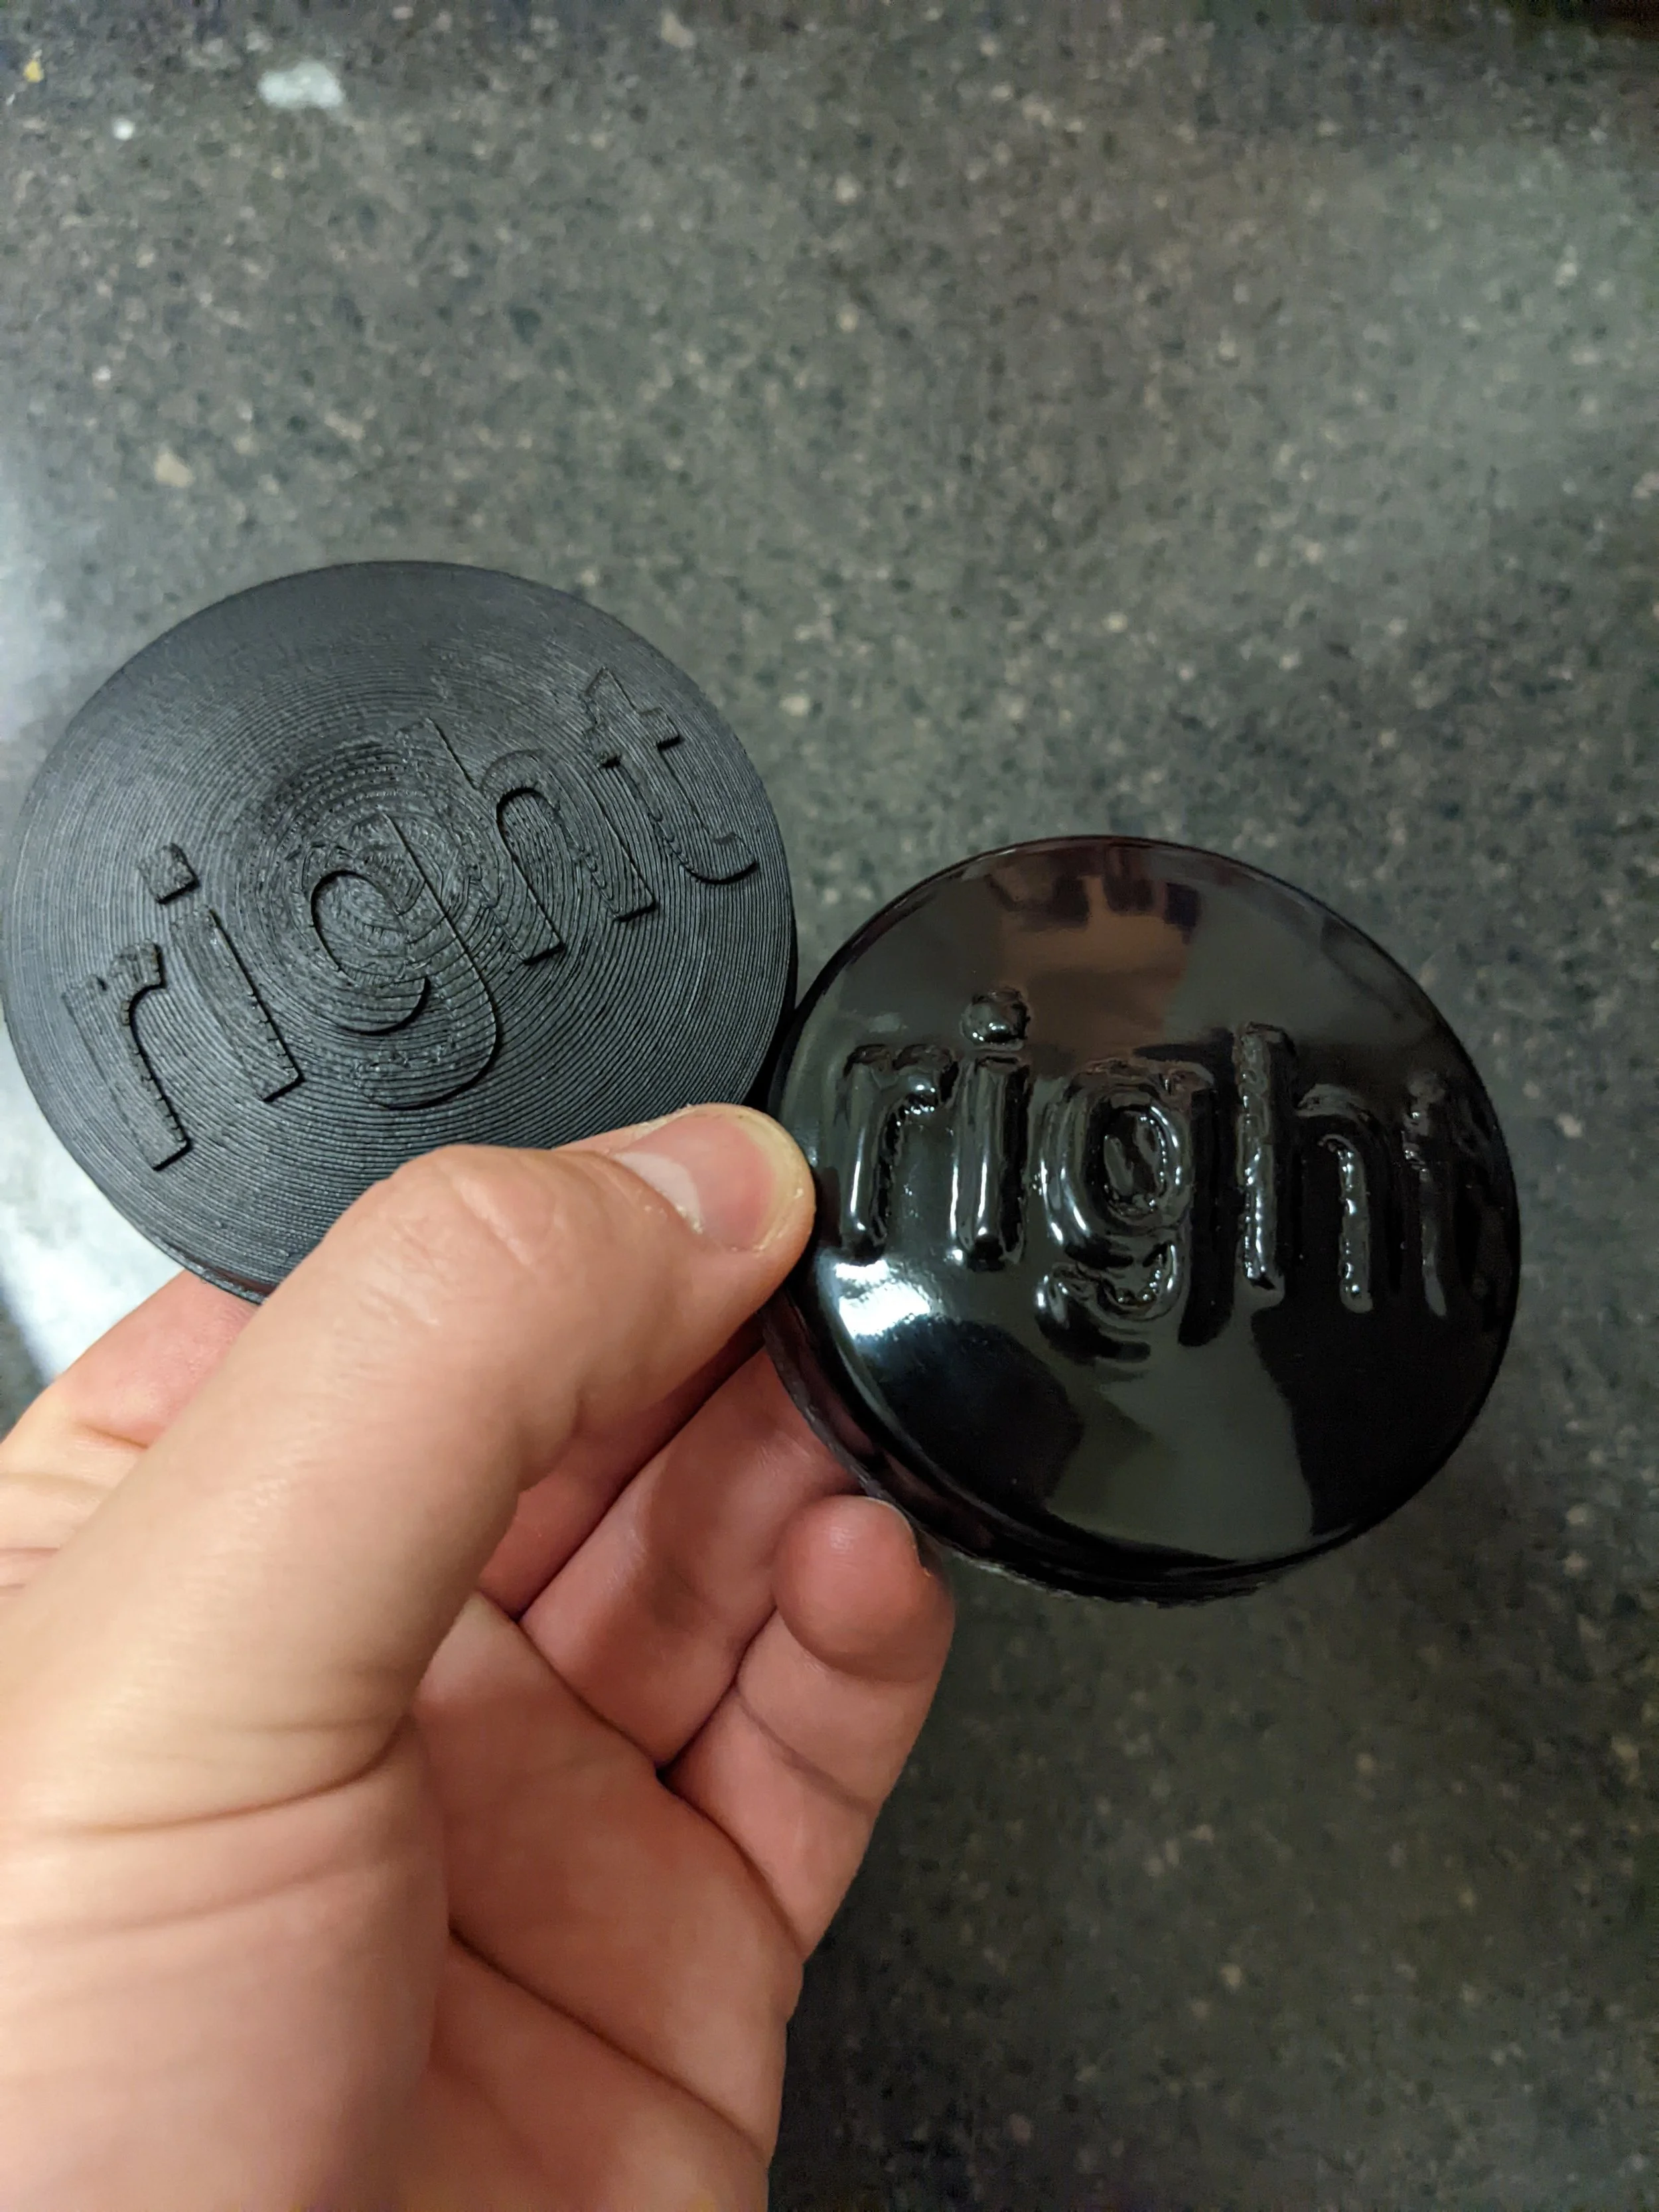
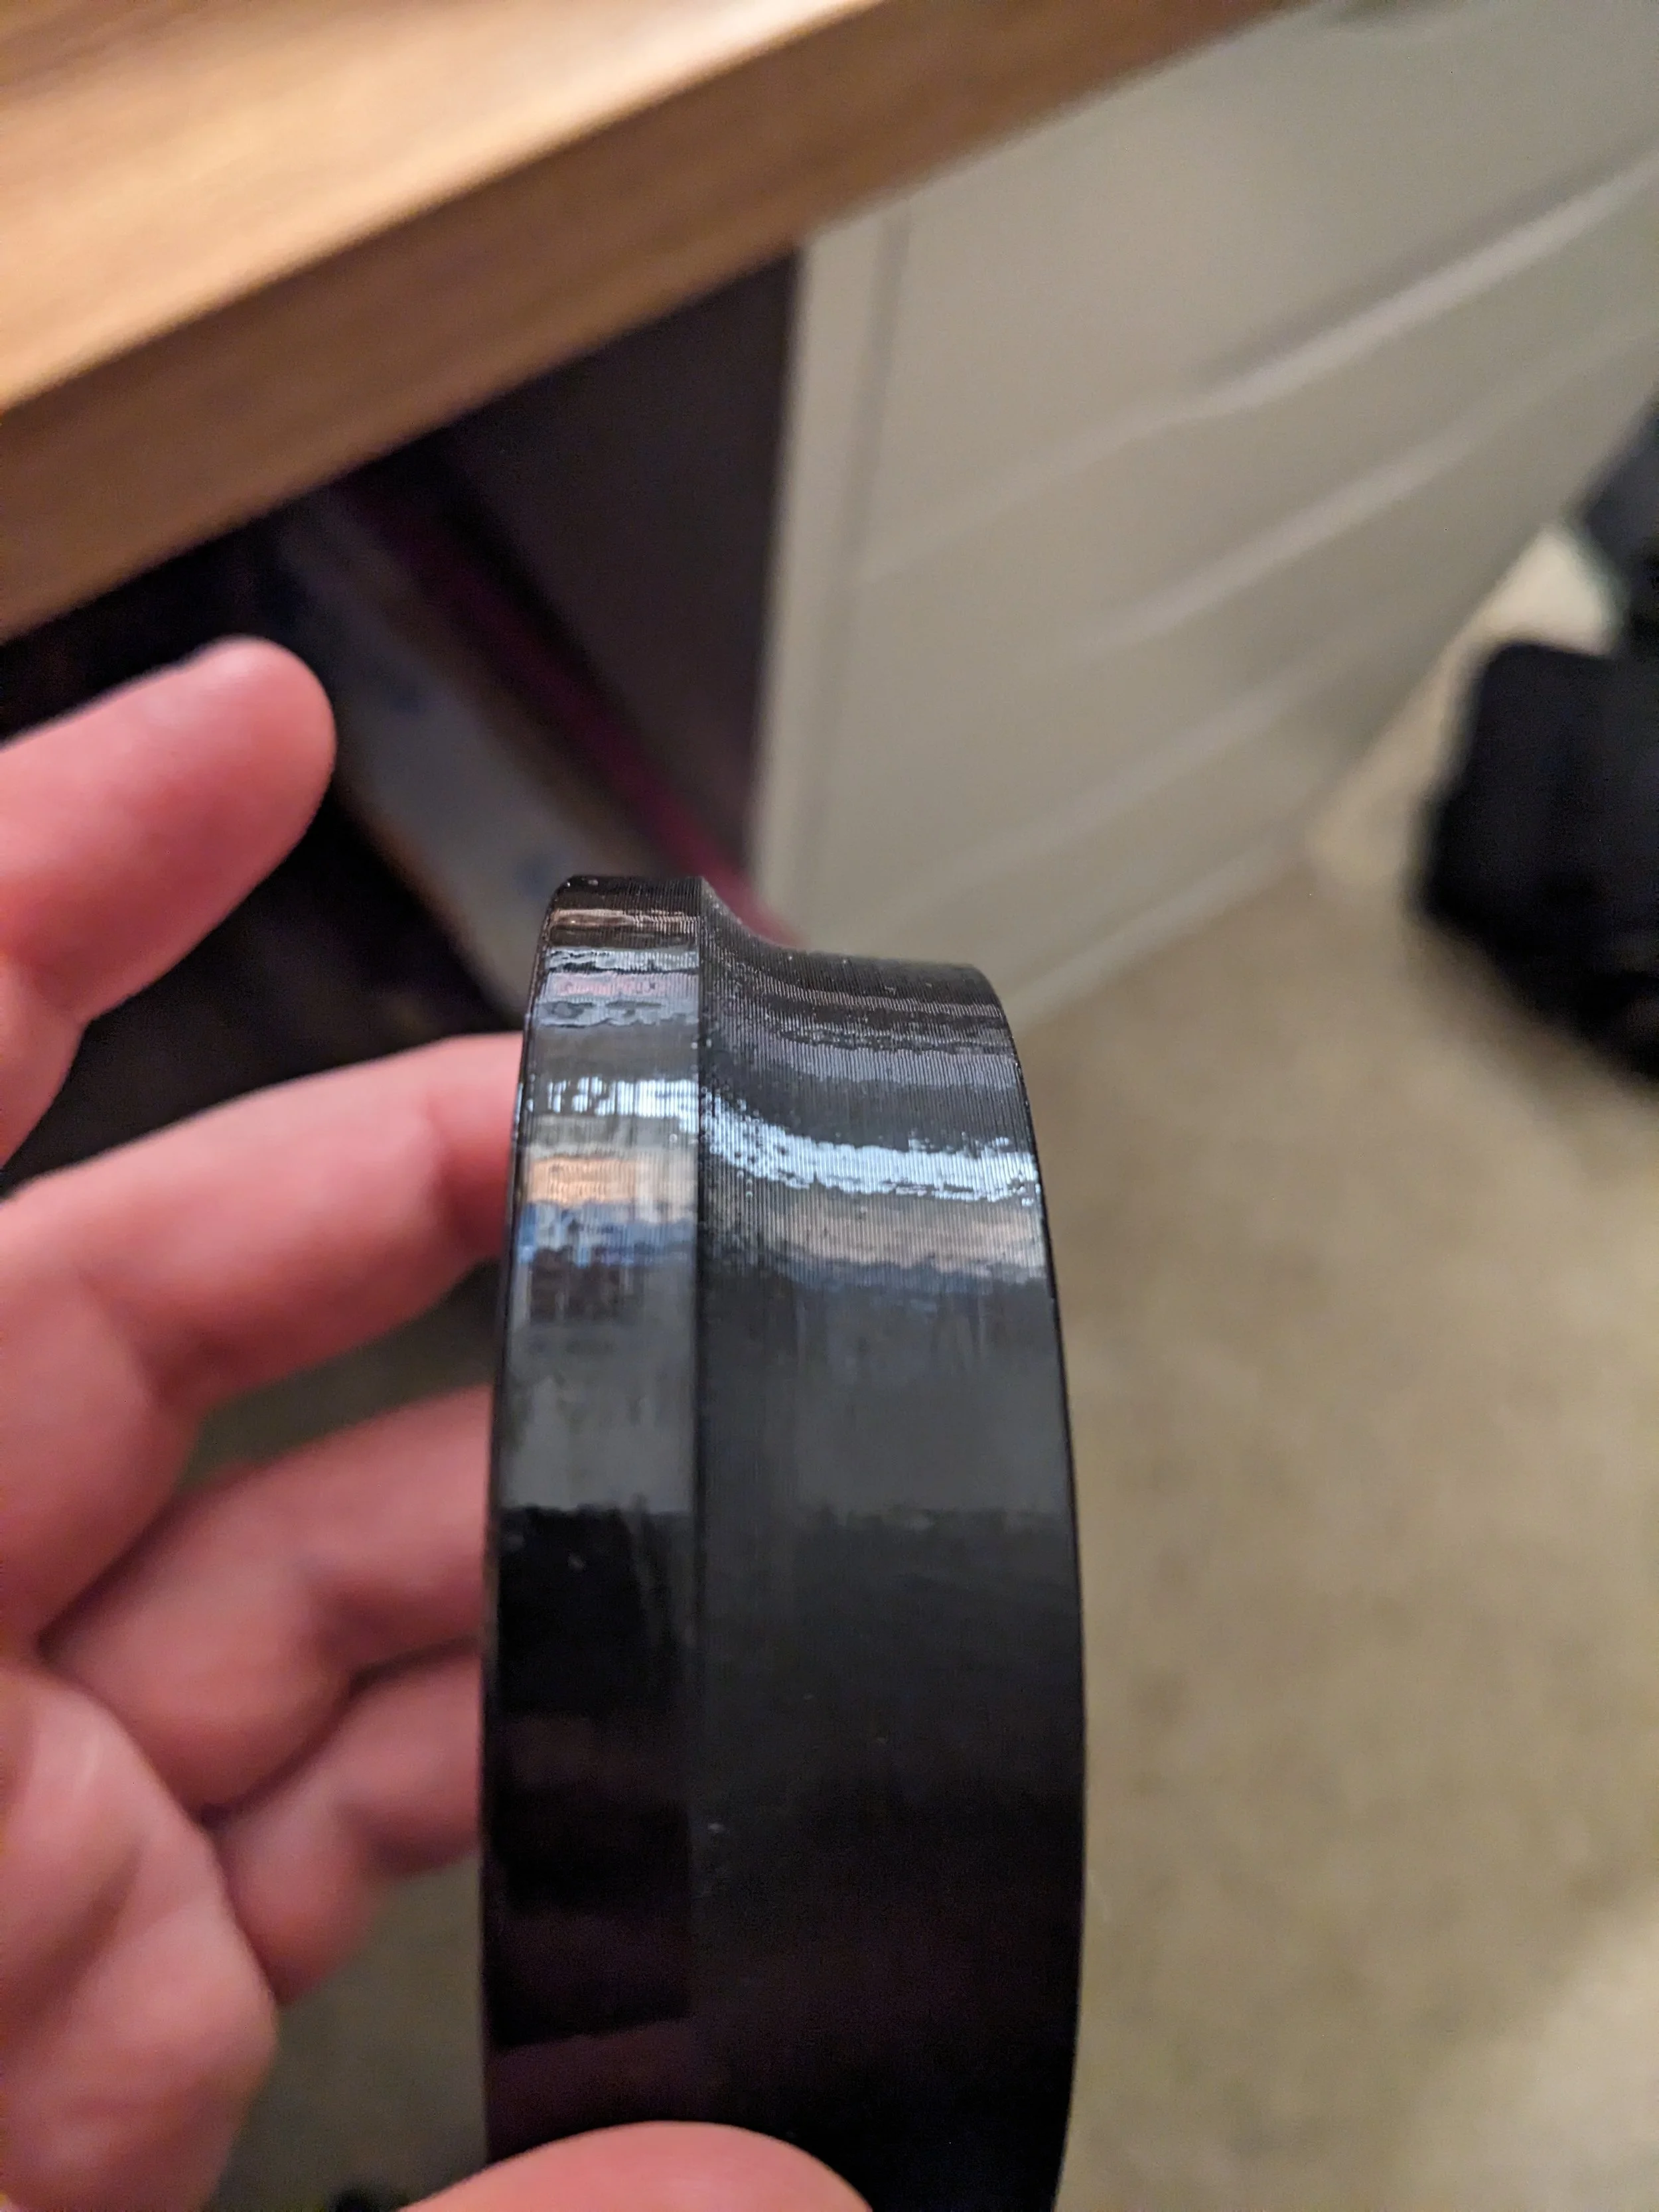
Shown above are the vapor polishing trials that I did to get the process correct for the final. In vapor polishing you expose the PLA plastic parts to a small amount of acetone in a closed container. The acetone evaporates quickly, and chemically melts the surface of the plastic, which helps reduce the visual impact of the FDM layer lines. You can see on the left is a non-processed part, next to one that was put in the vapor chamber for too long, and lost a lot of resolution but looks quite smoothed out. The final product can be seen on the housing part to the right, with a clean, glossy finish that didn’t require painting.

Steve unboxing it on the show!
Video of the full functional product!
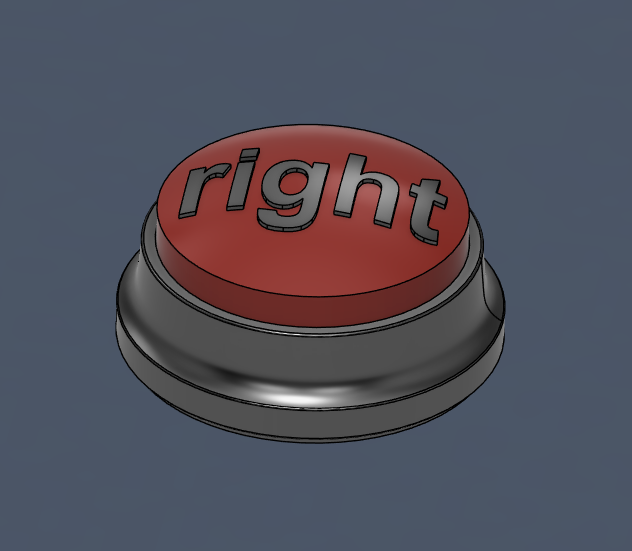
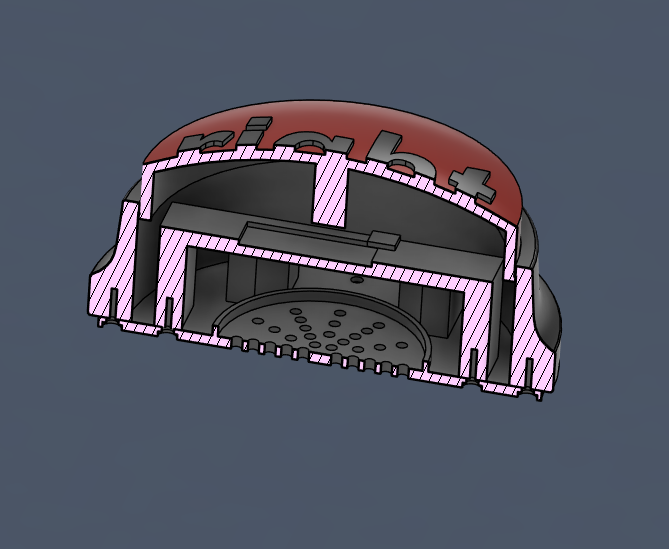
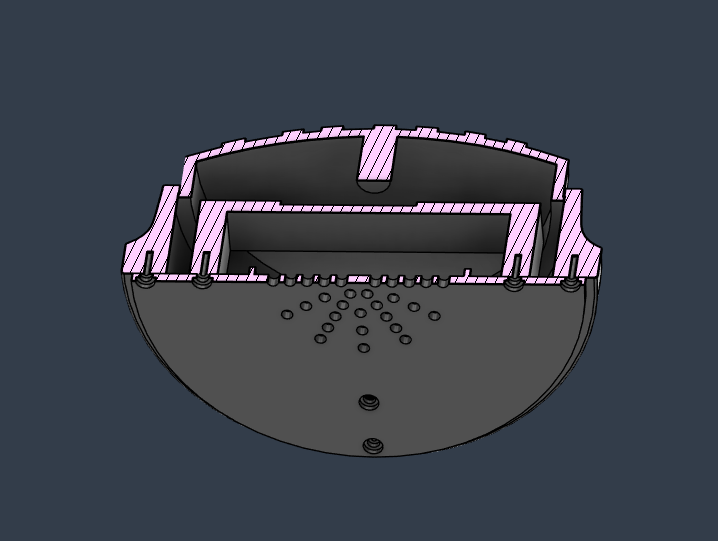
CAD Model of the button, complete with subframe, outer shell, button top, and a base plate with mounting holes for self-taping screws and speaker holes for the sound to travel. The final product had rubber feet to offset it from the ground so that the sound could escape from under the device
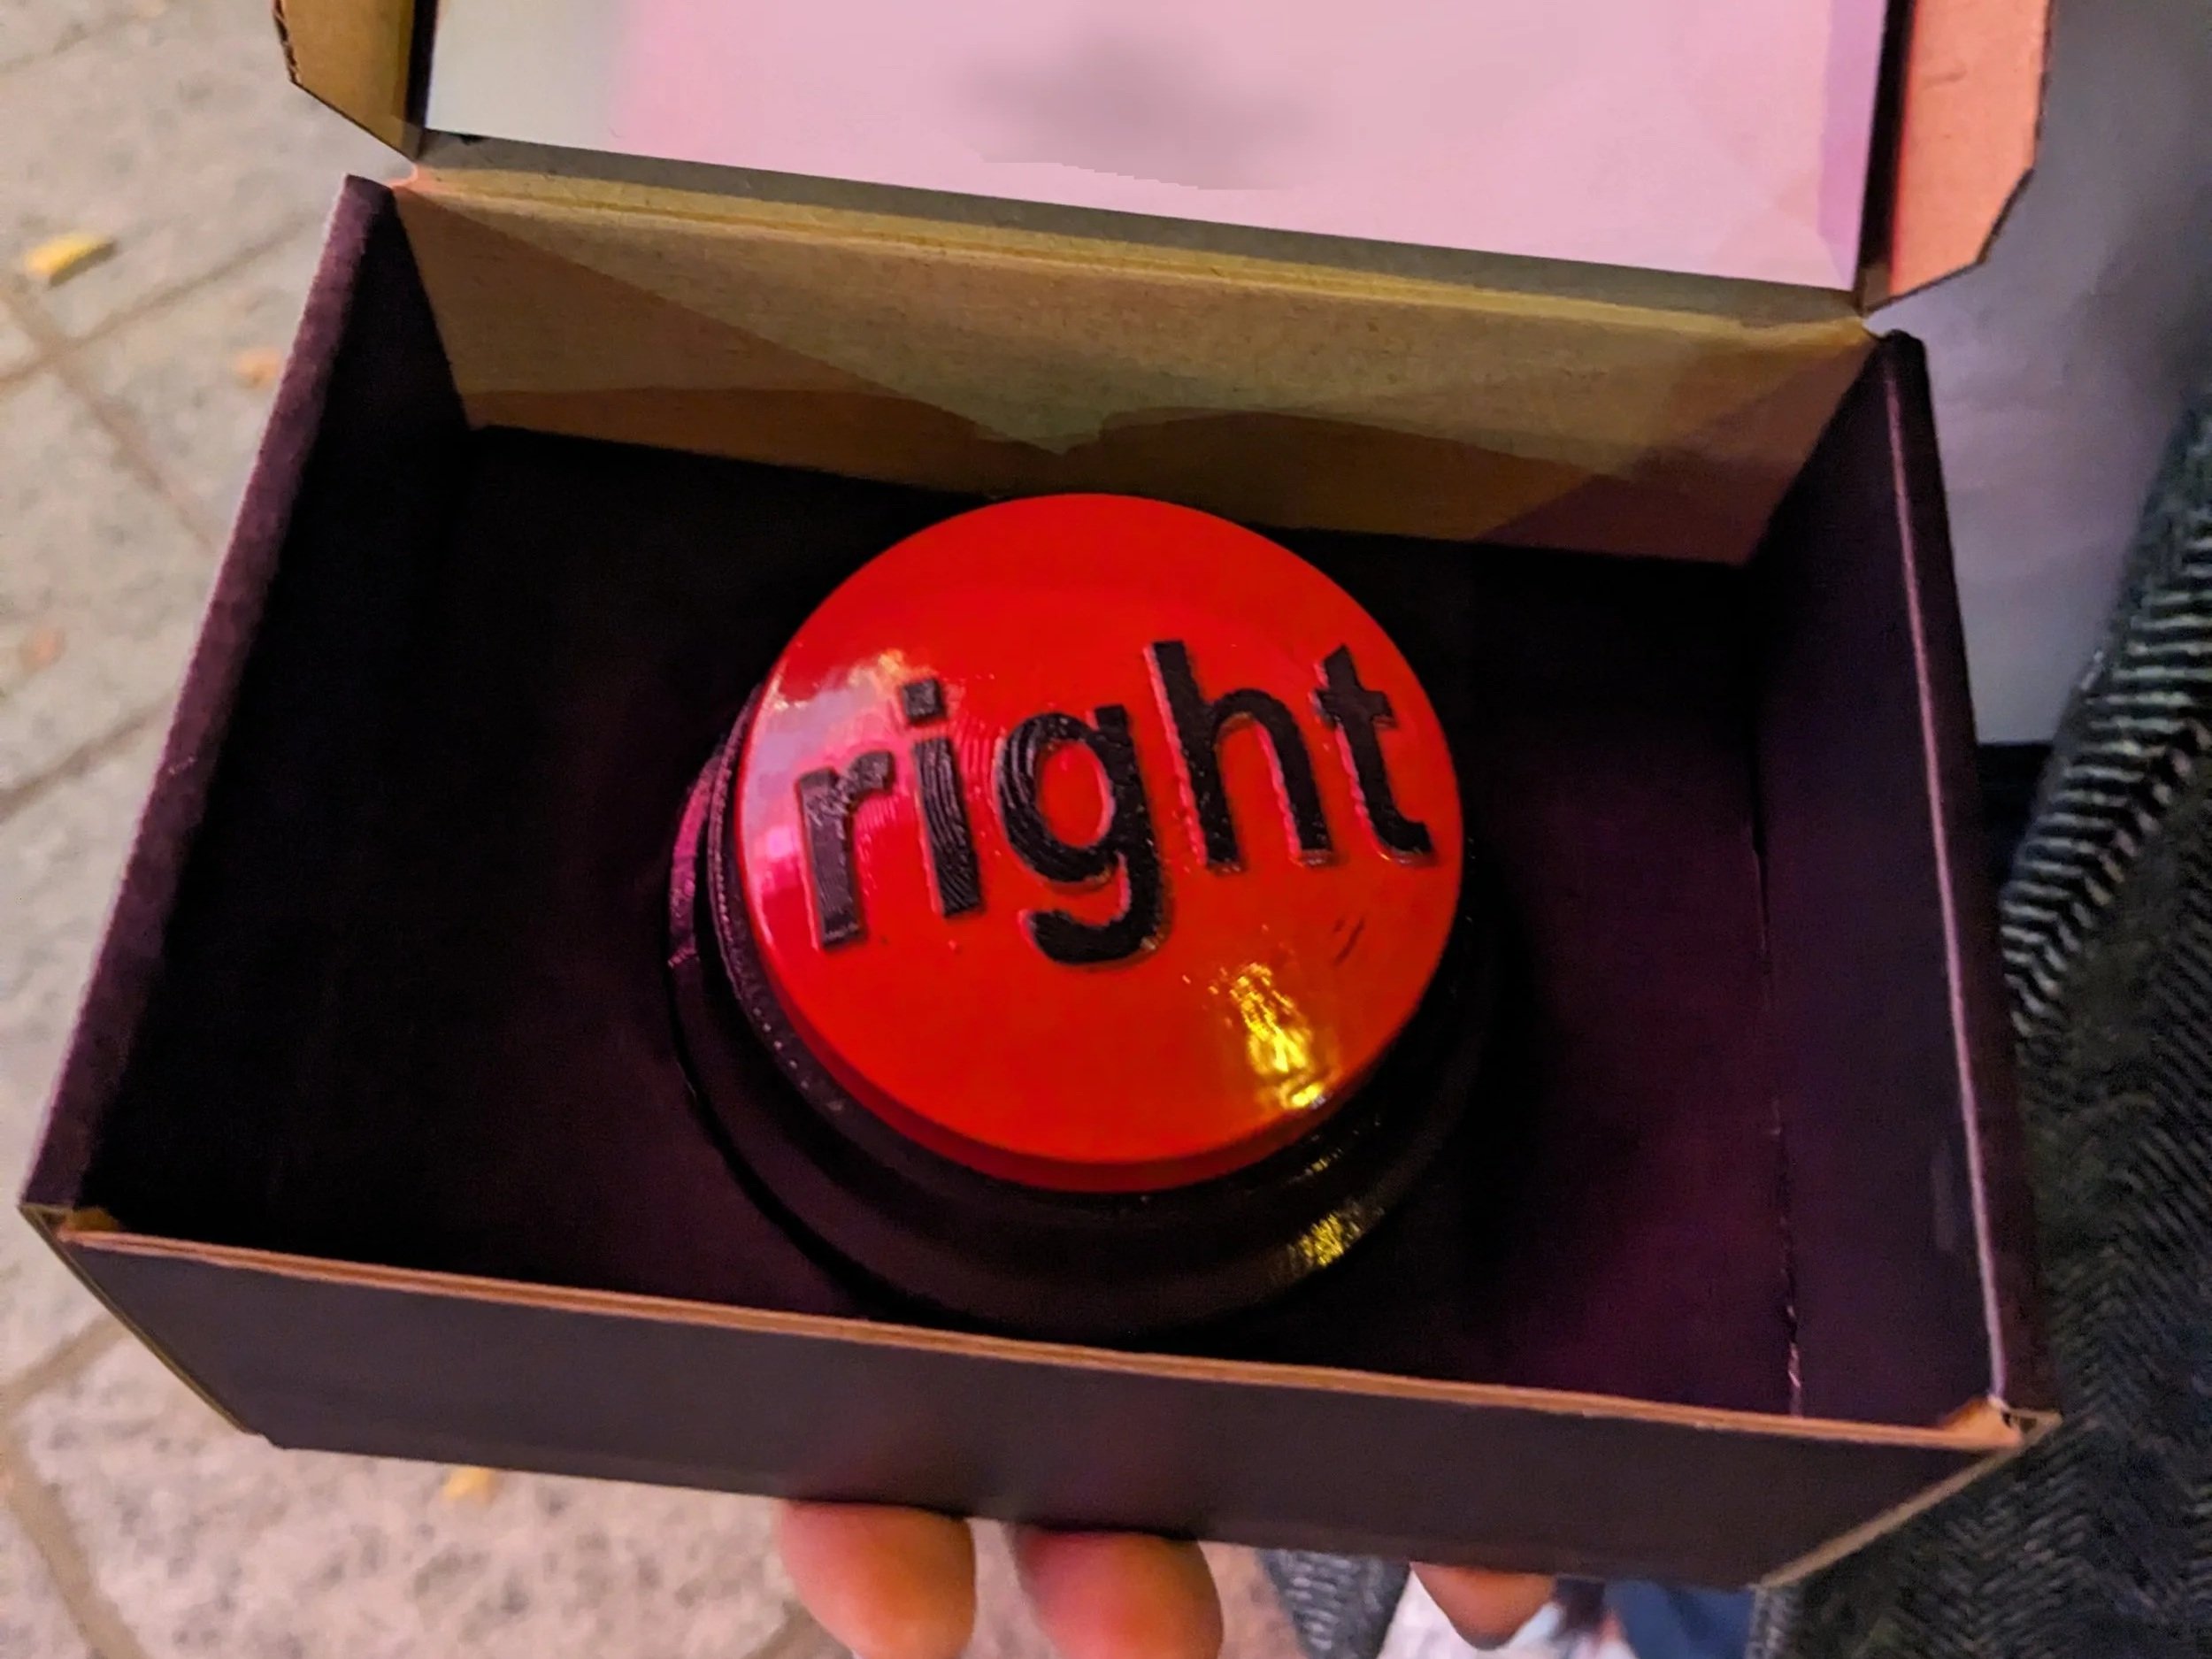
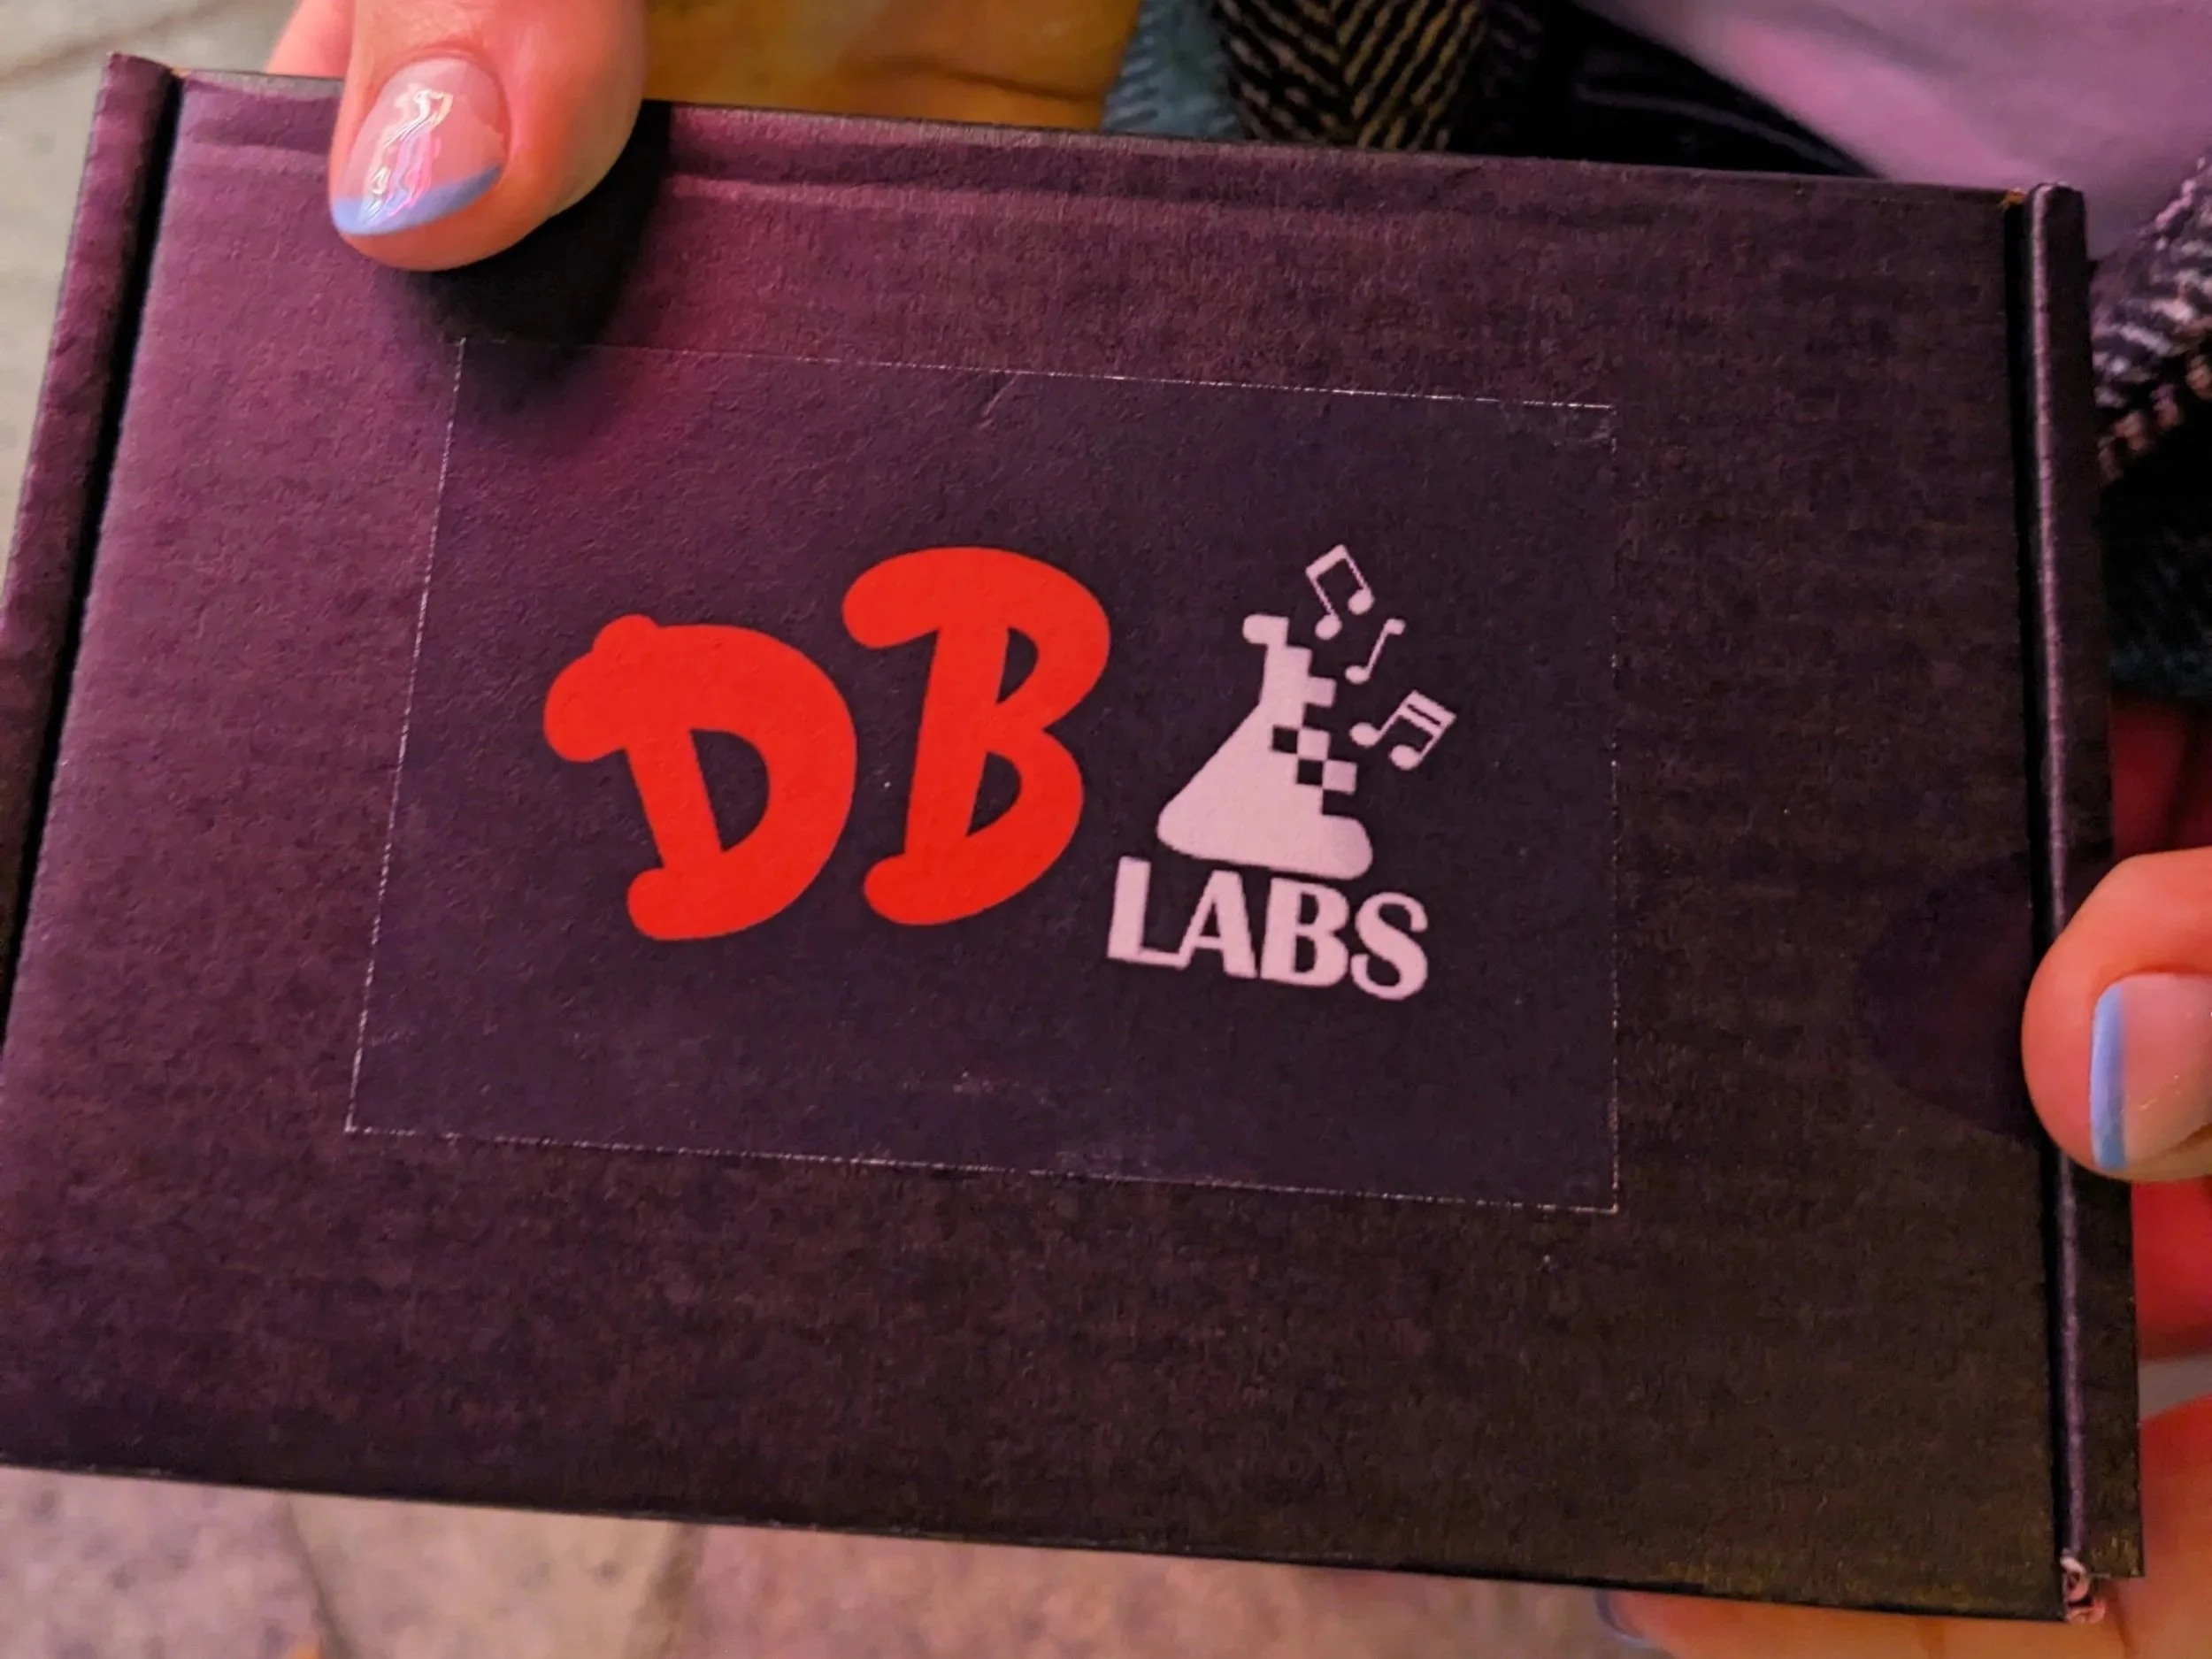
The unboxing experience was as important to me as the product itself. I designed a fun logo that alludes to the sound-based nature of the product, and for the packaging I found a nice black box that I put custom cut black cardboard inserts into. The cardboard inserts held the button snuggly and adding foam tape on the lid kept it secure.

My final product vs the actual Staples “The Was Easy” button